
Friday, 23 December 2011
Kingfisher
Thursday, 22 December 2011

Saturday, 3 December 2011
Creating Clouds.
1. Create A Wash of Colour that you want to use for the sky. For example if you want to get the effect of a summers day I would probably use Ultramarine Blue.
2. Then with a tissue, scrunch it up and dab out some of the sky colour to create cloud shapes. DON'T be tempted to draw outlines for the clouds as this could make them look slightly fake and cartoon like.
3. Once you have done that add a touch of black or grey. To create this colour mix burnt umber and ultramarine blue. Don't use the ready mixed blacks as they can knock areas DEAD! Add this colour to the bottom of the clouds, this will give the impression that the clouds are rounded, and that there is an "underneath".
I will upload images soon to go with this step by step.
Click here to go to visit my other techniques and step by steps.
Some Arty Terms....
Cockling - If you don't use proper watercolour paper then the paper cockles because of the water. This means that the paper goes wrinkly and wavy.
Rigger Brush - A VERY thin brush that you can use for fine detail on pictures.
Keep a look out for new terms as they come onto my blog.
If there is any other terms that you would like explaining on the blog then email me here to get them answered.
Click here for the more techniques and step by steps.
Easy Step By Step on how to Paint!
 Step by Step Landscape
This is the front page of the book that contains the picture that I am going to use for my first Step By Step on my blog. I got this book for Christmas and it was from QD Stores.
 This is the Original Picture. As you will see I have changed some of the colours in my version. My Picture is loosely based on this picture from the book. This is something that you can adapt to any picture; you don't have to copy every single detail of the picture.
1. As you can see here I have used masking tape to attach the paper to my drawing board, which in actual fact is just a piece of plywood! Anyone at home can use anything really but if you don't have a board you could use a lap tray or even an old book. You place the masking tape to the board leaving a small border. This means when you take the tape of you will be left with a crisp white border.

2. This is the pencil sketch which you might only just be able to see, but it is there. And you don't want to necessarily see the pencil lines on the finished painting. Draw out the sketch, don't worry if its not that precise as this painting only really needs "silhouettes in the distance"
3.  The Next step is to add water to the whole of the painting. There is NO care whatsoever involved in this just slap it on and have a bit of fun!
 The Next step is to add water to the whole of the painting. There is NO care whatsoever involved in this just slap it on and have a bit of fun!
4. Again even this bit doesn't need much care!! What you now need to do is add French Ultramarine to the top, make sure it doesn't go on to hard (dark) but also don't put it on too light as watercolours dry 50% lighter. Next create a mix of Alizarin Crimson and Cadmium Yellow. There is no precise recipe for this just to make an orange. Do the same with this as you did with the Ultramarine. The next step is to leave it to dry. It must be 100% dry before you continue. If you are a bit impatient (like me!) you  can use a hairdryer to speed up the process.
 can use a hairdryer to speed up the process.
 5. Then create a purple mix for the buildings and clouds. You do this by mixing Alizarin Crimson, a touch of Burnt Umber and Ultramarine Blue. Then with a smaller brush paint in the shapes of the background. This is perhaps what might look like the trickiest step but don't worry if you go "out of the lines" in a couple of places because remember this is in the distance so it won't be precise! While you are there use some of the same colour to add lines and various shapes to make clouds. When the purple for the buildings is still wet go in with a stronger orange. The purple and orange WILL run don't worry. Get a piece of masking tape and press it on a piece of clothing. This won't damage your clothes and this is just to get the stickiness from the masking tape off. Then lay the masking tape on the building to sea boundary. This is just to create more of a shadow from the buildings in the sea and to make it more defined.
 7. Next add the silhouette of 3 boats in the front with a strong mix of Burnt Umber and ultramarine. But this has to be when the picture is dry. Let the whole picture dry taped and on the board. This is to prevent cockling of the paper. Once it has dried you can take the tape off. Always tear the tape of towards you rather than the painting as it could rip. See opposite for the finished painting! If this is your first painting then you could frame it.
Happy Painting!
Thursday, 1 December 2011
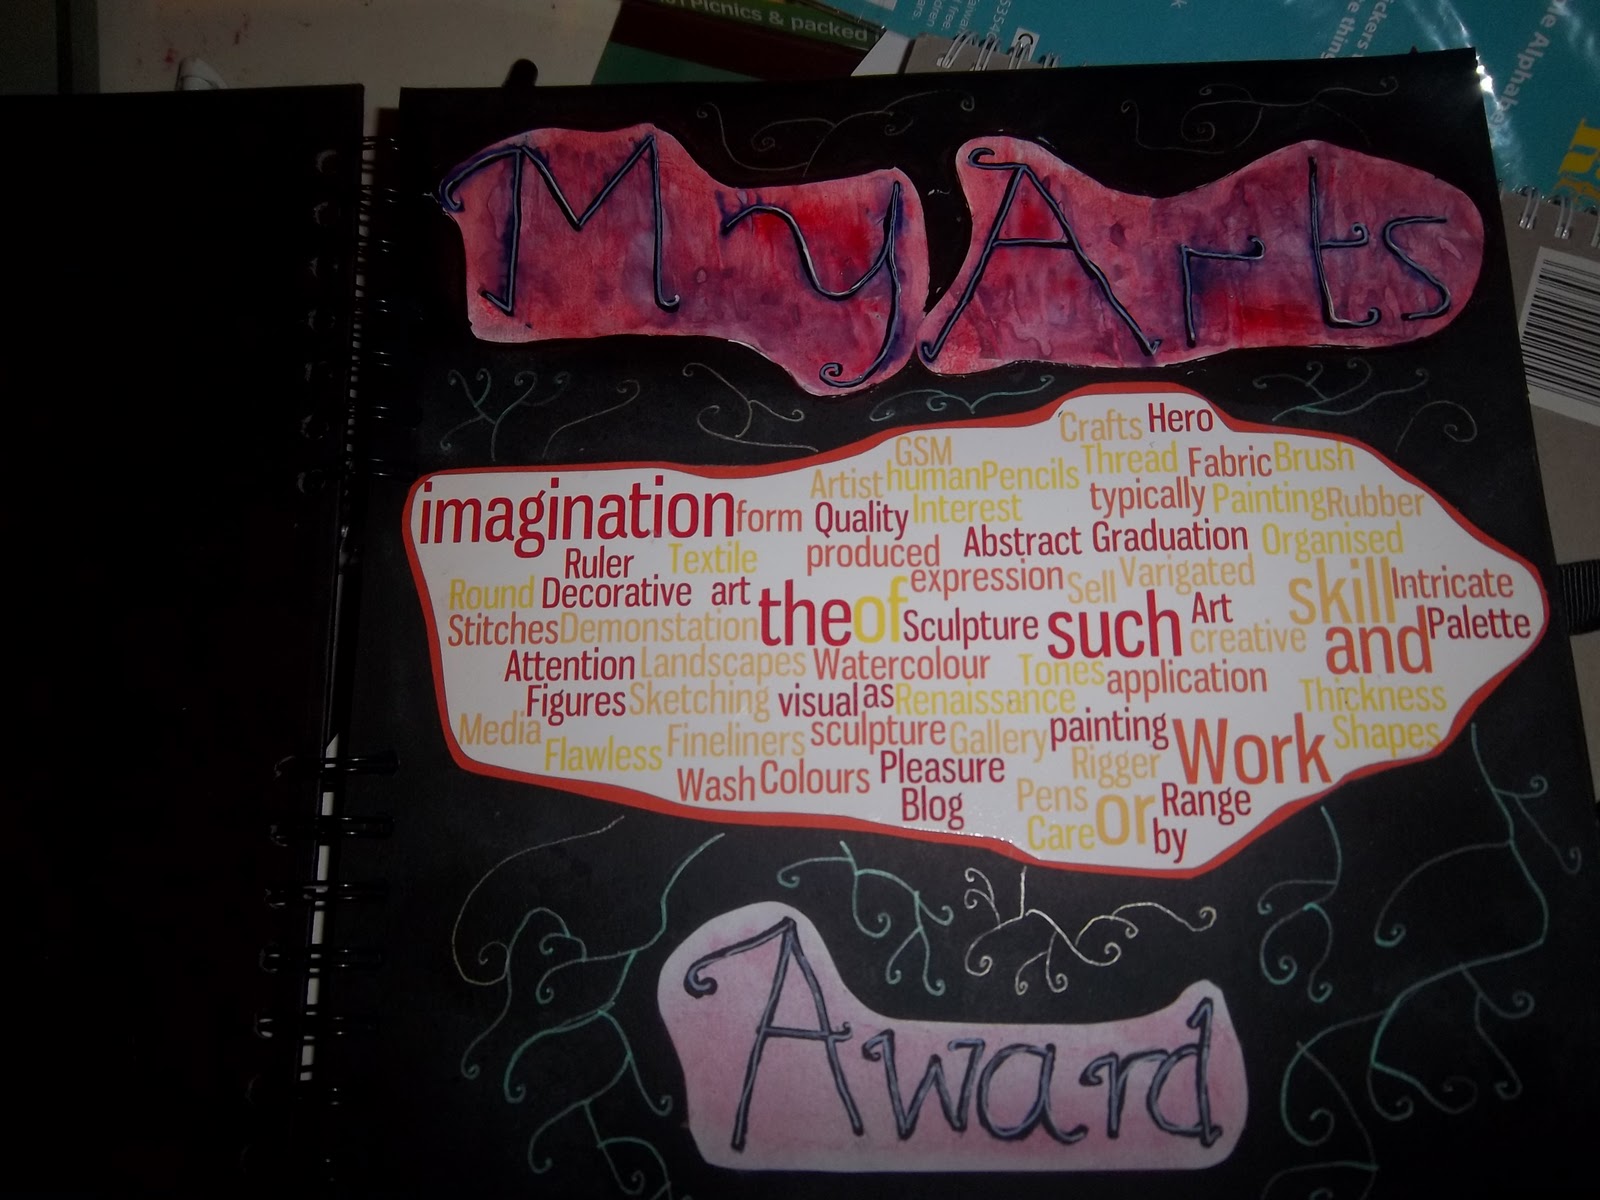
Front Cover of My Arts Award
Mini Countryside Scene

Snow Scene

Merry Christmas!
Subscribe to:
Comments (Atom)